So, you're finally ready to say goodbye to those popcorn ceilings, huh? Good for you. It's a common project we see here in Yakima, especially in homes built before the '90s. Getting rid of that textured stuff can really update a place, make rooms feel bigger, and honestly, just make them look cleaner. But before you jump in, you need a plan. Rushing into it can cause headaches and cost you more in the long run. Let's talk about what a typical popcorn ceiling removal project looks like, from start to finish.
Setting Your Project Timeline
How long does this whole thing take? That's usually the first question I get. The truth is, it varies. A small room, like a bedroom or a bathroom, might only take a day or two for the actual removal and initial skim coat. But if you're doing a whole house, or even just a large living area, you're looking at more like a week, maybe even two, depending on the crew size and the ceiling condition. Here’s a rough breakdown:
- Initial Assessment & Quote: This is quick, usually an hour or less for us to come out, measure, and check for any red flags like water damage or previous repairs. You’ll get a quote within a day or two.
- Scheduling: Depending on our current workload and your availability, this could be anywhere from a few days to a few weeks out. Good contractors stay busy, especially in the spring and fall here in the Valley.
- Prep Work (Your Part): Give yourself at least a day, maybe two, before we even show up. You'll need to move furniture, take down wall art, and clear out rooms.
- Popcorn Removal & Initial Skim Coat: This is the messy part. For an average 12x12 room, expect 1-2 days. For a larger open-concept living space, it could be 3-5 days. This includes the scraping and the first layer of mud.
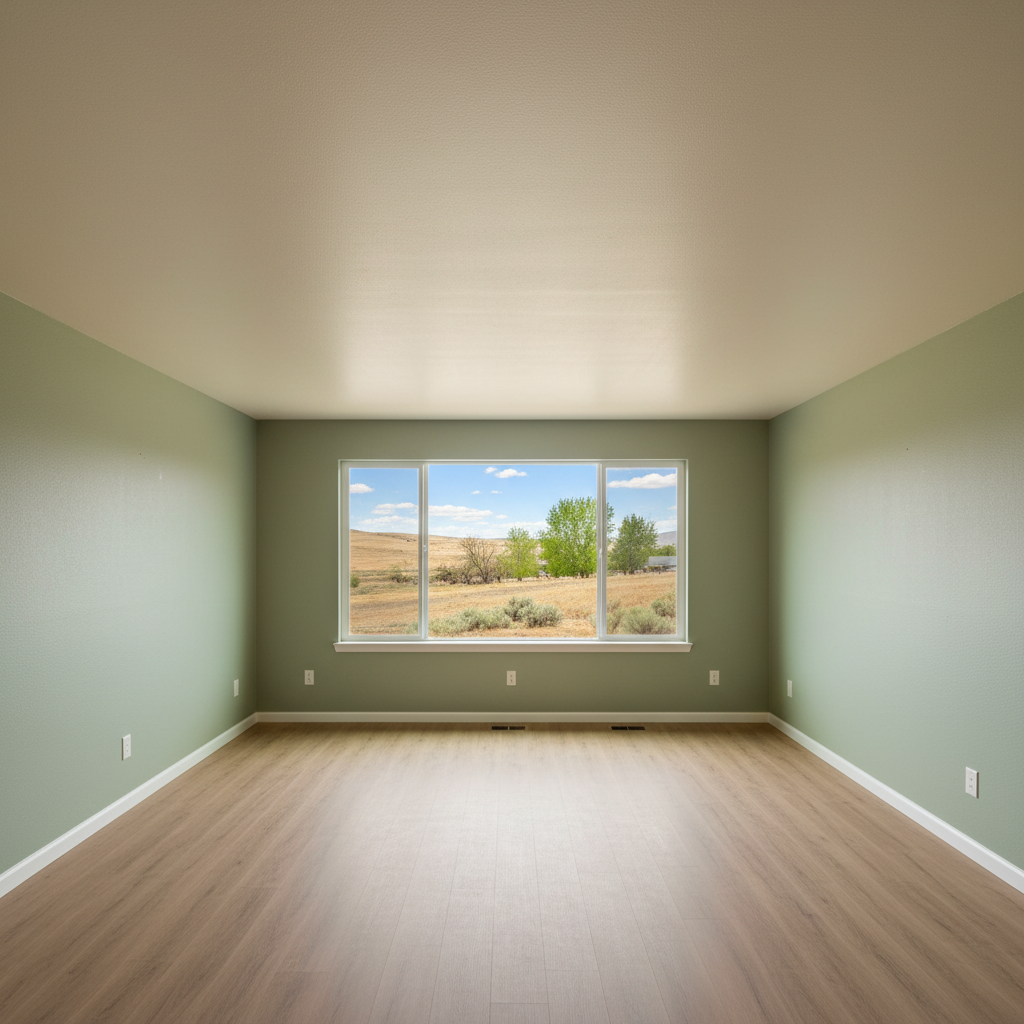
- Drying Time: Skim coats need to dry. This isn't something you can rush. Depending on humidity (which isn't usually an issue in Yakima, but still), it's typically 12-24 hours between coats.
- Sanding & Final Skim Coats: This is where we get it smooth. Another 1-3 days, depending on the size and how many coats are needed to get that perfect finish.
- Cleanup: We'll do a thorough cleanup, but you'll still want to dust and wipe down surfaces afterward.
- Painting: This is usually done by you or a painter you hire, and it adds another 1-2 days once the ceiling is fully dry and smooth.
So, for a multi-room project, you’re easily looking at a 5-10 business day commitment from start to finish, not counting your prep or the final painting.
What to Expect During the Process
Let's be real: it's going to be dusty and a bit disruptive. Even with the best dust control measures, you'll find dust. We use plastic sheeting, tape off rooms, and lay down drop cloths everywhere, but fine dust has a way of finding its way into everything. That's why your prep work is so important.
You'll hear scraping, sanding, and general construction noises. If you work from home, you might want to make other arrangements for those peak noise days. The air quality won't be great during the active work, so if you have respiratory sensitivities, plan to be out of the house as much as possible. We'll ventilate as best we can, but it's still a construction zone.
We'll likely need access to water and electricity. Don't worry, we bring our own tools, but a working faucet and outlets are essential. We'll also need a place to dispose of the old popcorn material – usually, we bag it up and take it away, but sometimes for bigger jobs, a small dumpster might be needed.
How to Prepare Your Home
This is where you come in, and doing a good job here makes a huge difference for everyone. Think of it as clearing the deck for surgery.
- Clear the Rooms: Move ALL furniture out of the rooms being worked on. If it's too big to move out, push it to the center and cover it completely with plastic sheeting. Take down all wall hangings, curtains, and anything else attached to the walls.
- Protect Your Floors: While we lay down our own drop cloths, if you have really nice hardwood or carpet you want extra protection for, consider putting down your own additional layers.
- Remove Valuables: Anything you don't want getting dusty or potentially damaged needs to be removed from the work area. This includes electronics, small appliances, decorative items, and anything sentimental.
- Cover Built-ins: If you have built-in shelves or cabinets, empty them and cover them tightly with plastic.
- Pets & Kids: Keep pets and kids away from the work areas. The dust, noise, and open tools aren't a good mix.
- HVAC: Turn off your HVAC system in the work areas to prevent dust from circulating through your vents. You might even want to tape off returns and supplies if you're really concerned.
- Access: Make sure we have clear pathways to the work areas and access to electricity and water.
Seriously, the more you clear out, the smoother and faster the job goes, and the less cleanup you'll have to do yourself afterward.
Questions to Ask Before Signing a Contract
Before you commit to anyone, you need to ask the right questions. Don't be shy; it's your home and your money. Here's what I'd want to know if I were in your shoes:
- Are you licensed and insured? This is non-negotiable. Ask for proof of both. We're Yakima Drywall Company, and we've got all our ducks in a row. You want a contractor who's covered if something goes wrong.
- What's your experience with popcorn ceiling removal specifically? It's a different beast than hanging new drywall. You want someone who knows the nuances.
- How do you handle dust control? Get specifics. What kind of plastic? Do they seal off rooms? Do they use air scrubbers?
- What's included in the quote? Does it cover all materials, labor, cleanup, and disposal? Are there any hidden fees? Will they patch any small cracks or imperfections found after the popcorn is off?
- What's the timeline for my specific project? Get a realistic estimate for start and completion dates.
- Who will be doing the work? Is it an in-house crew or subcontractors? If subs, are they also licensed and insured?
- What happens if asbestos is found? While less common in newer homes, if your house was built before 1978, there's a chance. We always recommend testing older ceilings before starting. If it's positive, the project changes dramatically, and you need a specialized abatement company. Make sure your contractor has a plan for this.
- What kind of finish will I get? Smooth? Light texture? Make sure you're both on the same page about the final look.
- What's your warranty or guarantee on the work? Good contractors stand behind their work.
- Can you provide references? And actually call them! Ask about their experience, communication, and if they were happy with the final result.
Getting rid of popcorn ceilings is a solid investment in your home, and with the right planning and the right crew, it'll be a smooth process. Do your homework, ask tough questions, and you'll be enjoying those beautiful, smooth ceilings in no time.