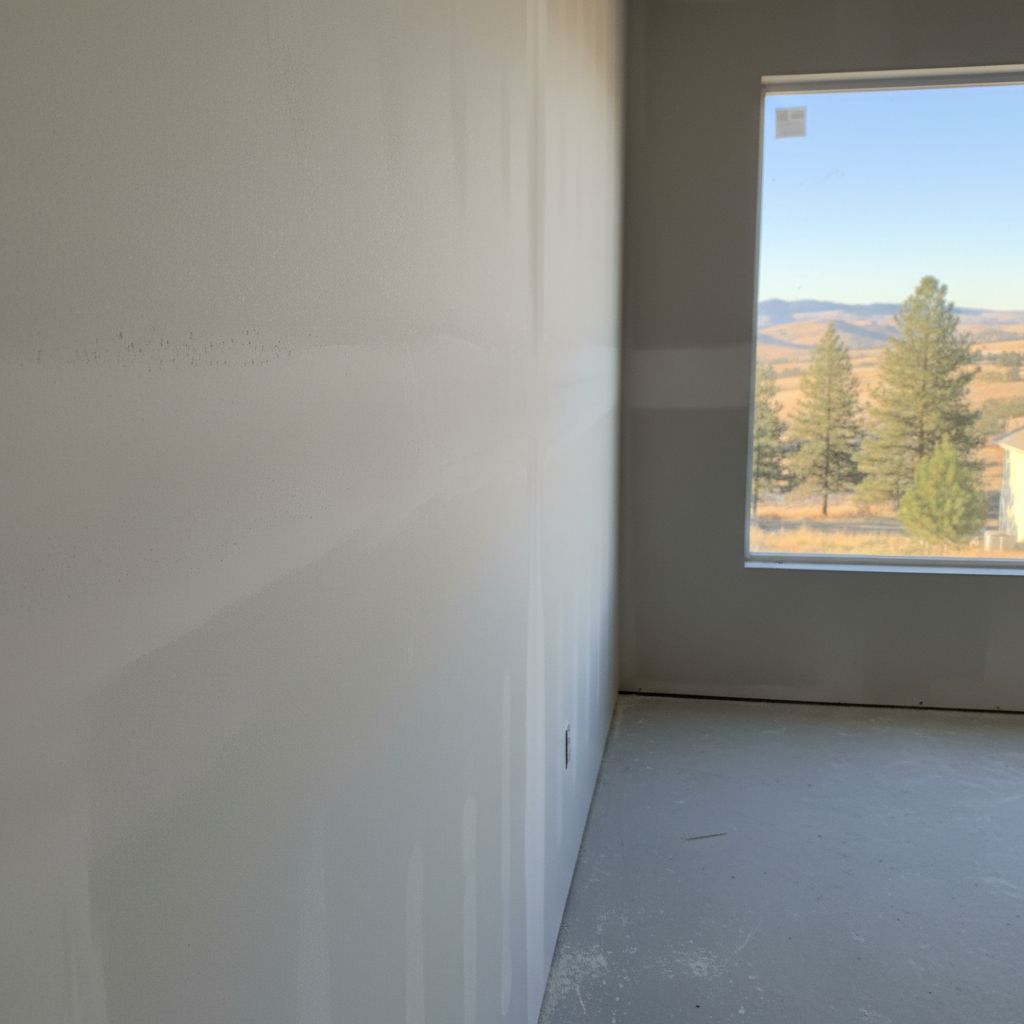
So, you've got a room that needs drywall, huh? Maybe it's a new addition, a basement remodel, or you're finally tackling that garage conversion. I get it. The idea of saving some cash by doing it yourself is tempting, and for some parts of the job, it's totally doable. But let's be real, drywall isn't just slapping up some boards. There's a knack to it, and knowing when to roll up your sleeves and when to pick up the phone can save you a ton of headaches and money in the long run.
Before You Even Think About Cutting a Board
First things first, planning is everything. You gotta measure your space accurately. Don't just eyeball it. Get precise measurements for every wall and ceiling. This helps you figure out how many sheets of drywall you'll need. Remember, standard sheets are 4x8, 4x10, or 4x12 feet. For ceilings, especially if you're working alone, those lighter 1/2-inch ultralight panels are a godsend. For walls, 1/2-inch is usually fine, but if you're going for soundproofing or a super sturdy finish, 5/8-inch might be worth considering.
Next, think about tools. You'll need a utility knife, a T-square, a drywall saw (for cutouts), a drill, a screw gun (a dedicated one is faster), a tape measure, and a good straightedge. For hanging, a drywall lift is almost a necessity for ceilings, and it sure helps with high walls. Don't forget safety gear: gloves, safety glasses, and a dust mask. Drywall dust gets everywhere, and you don't want to breathe that stuff in.
Consider your framing too. Is it straight? Are studs spaced correctly, usually 16 or 24 inches on center? If your framing is wonky, your drywall will be wonky, and that's a nightmare to mud smooth. Take the time to fix any issues now. It's way easier than trying to hide them later.
Hanging Drywall: The DIY Sweet Spot and the Tricky Bits
Okay, so you've got your materials and tools. Hanging the actual sheets? That's often where homeowners feel most confident, and honestly, you can do a decent job with patience. Start with the ceiling if you can, then the walls. Always run your sheets perpendicular to the framing members. This helps prevent sagging and gives you more nailing/screwing surface.
When it comes to cutting, measure twice, cut once. Use your utility knife and T-square for straight cuts. For outlets and switches, measure carefully, draw your box, and then use a drywall saw or a RotoZip tool. Don't be afraid to practice on a scrap piece first. Getting those cuts just right around windows and doors is crucial for a clean finish.
Now, here's where it gets tricky: corners and edges. You want tight seams. No big gaps. If you've got a gap bigger than about 1/8 inch, you might want to recut or use a filler. That's because the mudding process is designed to fill small imperfections, not huge chasms. And speaking of mudding...
Taping and Mudding: This is Where Pros Shine
This is the part where most DIYers either throw in the towel or end up with a finish that screams